Step-by-Step Interior Painting Tips for a Smooth, Lasting Finish
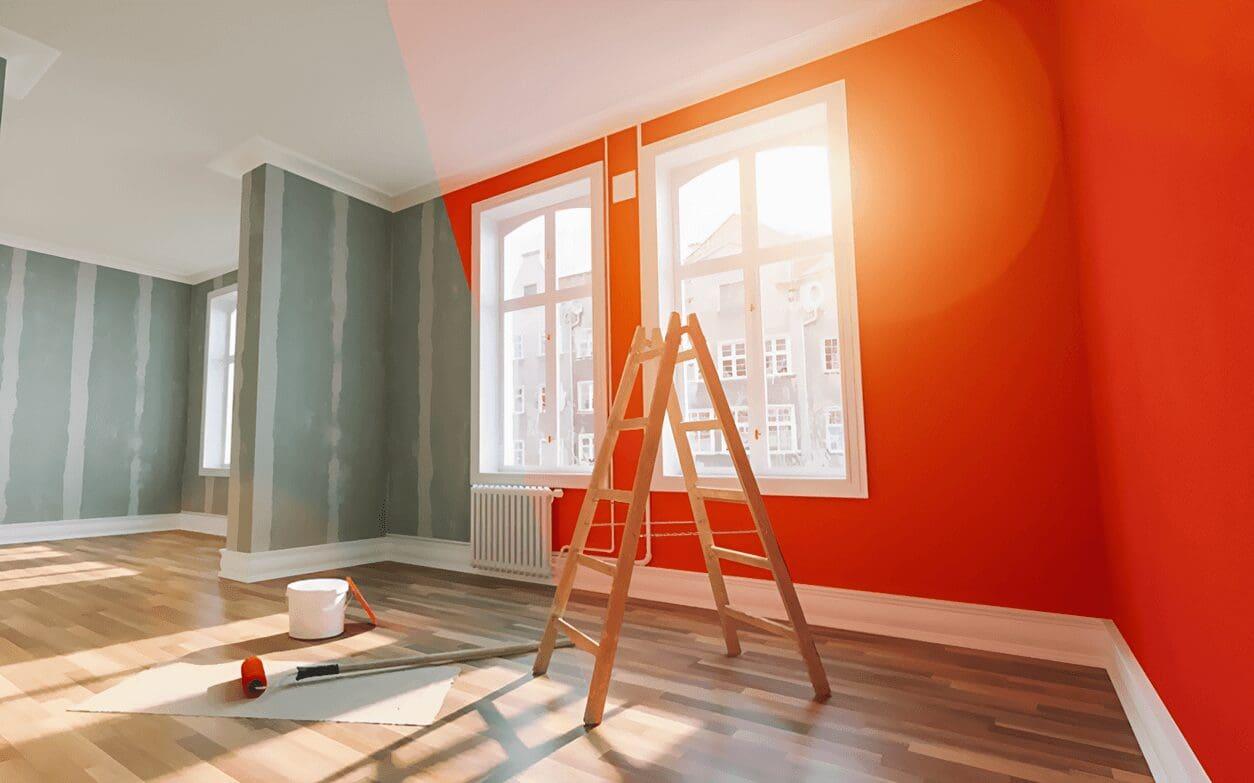
When done right, interior painting can completely transform the look and feel of your home. From freshening up a single room to updating an entire house, a well-executed paint job adds both style and value. Whether you're tackling a DIY project or hiring professionals in Somerville, MA, these step-by-step tips will help you achieve flawless, long-lasting results.
Step 1: Choose the Right Paint and Finish
Before picking up a brush, it's crucial to choose the right paint type and finish for each space. In Somerville, MA, where home styles vary from historic to modern, high-traffic areas like kitchens and hallways benefit from durable, easy-to-clean finishes like eggshell or satin. For living rooms or bedrooms, matte or flat finishes can provide a soft, elegant look. Color selection also plays a major role—lighter shades can make a room feel larger, while darker tones add depth and drama.
Step 2: Prep the Room Thoroughly
Proper preparation is the foundation of every successful interior room painting job. Start by removing furniture or covering it with plastic sheeting. Clean walls to remove dust, oils, or residues that might interfere with paint adhesion. Patch any holes or cracks, and sand rough areas until smooth.
Use painter’s tape to protect baseboards, doorframes, and window trim. If you’re also tackling trim and molding painting, take extra care to use precise edges and a quality angled brush.
Step 3: Don’t Skip Priming
Priming ensures better paint coverage and helps paint adhere more evenly, especially on new drywall or patched areas. It also blocks stains and prevents colors underneath from bleeding through. In older homes in areas like Somerville, MA, priming is especially important to even out surface tones and create a fresh base.
Step 4: Use Proper Technique
For clean and even coverage, follow a logical process:
-
Cut in first by painting around edges and corners with a brush.
-
Roll after cutting to blend brush lines into the main surface.
-
Work in small sections and keep a wet edge to avoid streaks or lap marks.
-
Always use high-quality brushes and rollers suited to your wall texture and finish.
This process is particularly helpful in residential interior painting, where smooth results matter most in frequently used rooms.
Step 5: Focus on Detail Areas
Detail areas like ceiling painting or crown molding require a steady hand and careful planning. For ceilings, use a roller with an extension pole and work across the room in parallel lines to avoid overlap lines. For cabinet painting and refinishing, remove hardware and doors before sanding, priming, and applying paint in thin, even coats.
These finishing touches take more time but significantly enhance the overall result of your project.
Step 6: Let Each Coat Dry Properly
Allow the recommended drying time between coats. Rushing this step can lead to peeling, bubbling, or uneven color. Typically, two coats are enough for full coverage, but dark or bold colors may require a third. Patience here ensures that your interior painting job looks professional and lasts longer.
Final Thoughts
A successful paint job is about more than just applying color—it's about technique, preparation, and attention to detail. By following these steps, you’ll achieve a smooth, long-lasting finish that elevates your space. Whether you're updating a single room or taking on a full home transformation, quality work matters.
For those seeking expert help, Hands on Duty is a trusted choice for precision and care in every brushstroke.
FAQs
1. How long does it take to complete a standard-sized room refresh?
Typically, it takes one to two days, depending on prep work, drying time, and the number of coats needed.
2. Is it necessary to apply primer every time?
Primer is especially helpful when covering dark shades, stained surfaces, or new drywall. It promotes better surface coverage and finish quality.
3. What’s the best surface finish for a bathroom or kitchen?
Semi-gloss or satin options are ideal in areas with moisture, as they resist humidity and are easier to maintain.
4. Can cabinets be updated without removing them?
It’s possible, but removing doors and hardware before working on cabinets usually results in a cleaner and more professional outcome.
5. Should ceilings match the color of the walls?
It depends on the look you're aiming for. Matching colors offer unity, while lighter ceilings can make a room feel more spacious and open.