
Are you planning on renovating your bathroom or building a new one? Installing a shower is one of the most important steps in this process.
While it may seem like a simple task, plumbing a shower drain requires knowledge and precision to ensure proper functioning and avoid future issues. I will guide you through the steps of properly plumbing a shower drain, from the necessary tools and materials to common mistakes and tips for success.
Get ready to update your plumbing skills and create a functional and leak-free shower for years to come!
Tools Needed for Shower Drain Plumbing
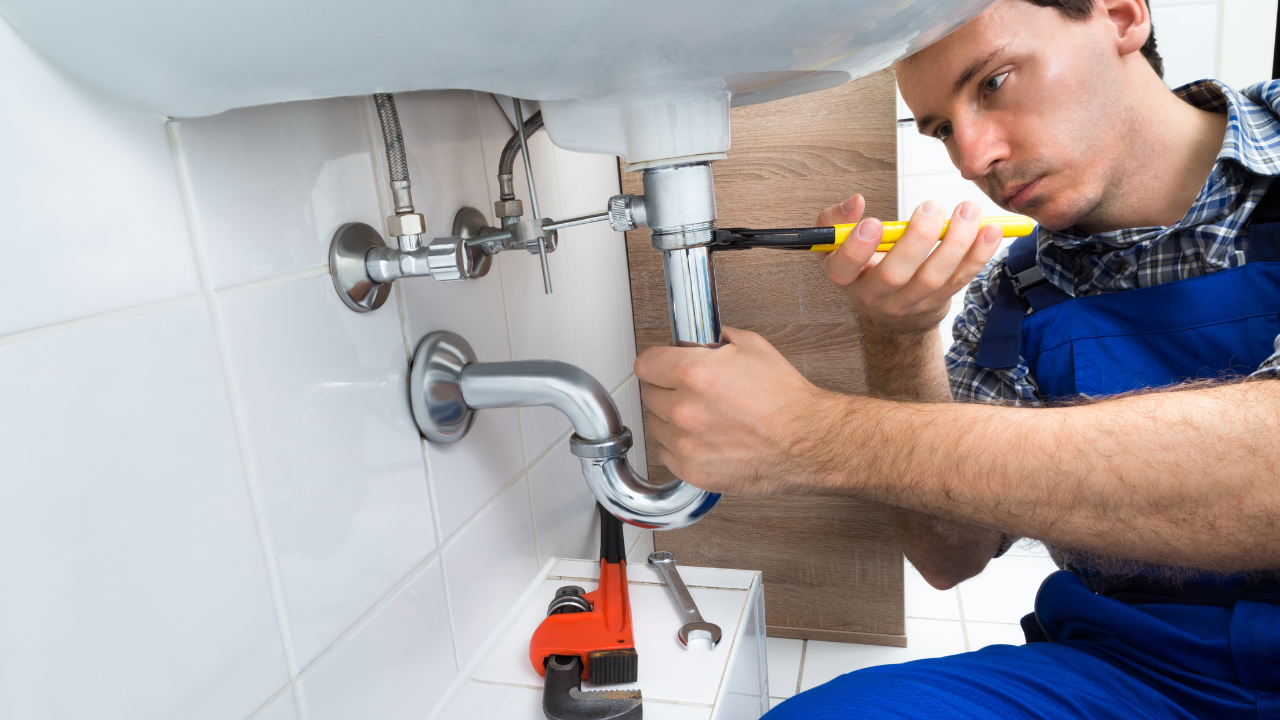
When it comes to working on shower drain plumbing, having the right tools is essential to ensure a smooth and successful installation or repair process. Here are some common tools you may need for shower drain plumbing tasks:
- Adjustable Wrench
- Pipe Wrench
- Plumbers' Putty
- Plunger
- Hacksaw
- Plumber's Tape
- Channel Locks
- Caulk Gun and Silicone Caulk
- Level
- Safety Gear
Having these essential tools on hand will help you tackle shower drain plumbing tasks efficiently and effectively, whether you are installing a new shower drain or addressing plumbing issues in an existing setup.
Step-by-Step Guide to Plumbing a Shower Drain
Plumbing a shower drain requires careful attention to detail to ensure proper installation and functionality. Here is a comprehensive step-by-step guide to help you navigate the process effectively:
Prepare the Work Area:
- Start by clearing the area around the shower drain and removing any debris or obstructions.
- Ensure you have access to the underside of the shower stall or bathtub to work on the plumbing.
Remove the Old Drain Assembly:
If you are replacing an existing shower drain, carefully remove the old drain assembly using the appropriate tools, such as a wrench or pliers
Clean the area around the drain opening to prepare for the new installation.
Install the Shower Drain Base:
- Place the rubber gasket or shower drain base over the drain opening, ensuring a snug fit.
- Secure the base in place using screws or bolts, depending on the specific design of the drain assembly.
Connect the Drain Pipe:
- Attach the drain pipe to the bottom of the shower drain base, making sure it aligns properly with the existing plumbing system.
- Use the plumber's putty or silicone caulk to create a watertight seal between the drain pipe and the shower drain base.
Secure the Drain Flange:
- Insert the drain flange into the drain pipe and secure it in place with the appropriate fasteners.
- Tighten the flange securely to prevent leaks and ensure a stable connection.
Test the Drain Assembly:
- Before completing the installation, perform a water test to check for any leaks or drainage issues.
- Pour water into the shower drain and observe the flow to confirm that the plumbing is functioning correctly.
Seal the Surrounding Area:
- Apply silicone caulk around the edges of the shower drain assembly to seal gaps and prevent water from seeping through.
- Smooth out the caulk with a caulking tool for a neat and waterproof finish.
Final Inspection:
- Conduct a final inspection of the installed shower drain to ensure all connections are secure and there are no visible leaks.
- Test the shower drain by running water through it to confirm proper drainage and functionality.
By following these step-by-step instructions, you can successfully plumb a shower drain and ensure a reliable and efficient drainage system in your shower stall or bathtub. Remember to exercise caution and precision throughout the process to achieve optimal results.
Tips for Maintaining a Shower Drain
Proper maintenance of your shower drain is essential to prevent clogs and ensure efficient water drainage. Here are seven tips to help you maintain a healthy shower drain:
- Remove debris, hair, soap scum, and other residues from the shower drain regularly to prevent buildup. Use a drain snake or cleaning solution to clear any obstructions.
- Consider scheduling a professional Plumbing Estimating New York inspection annually to check for any potential issues with your shower drain and address them before they escalate.
- Invest in a hair catcher or drain strainer to trap hair and prevent it from going down the drain. Clean the hair catcher regularly to maintain its effectiveness.
- Pour boiling water down the drain once a week to help dissolve soap scum and prevent grease buildup. This simple maintenance step can help keep your drain clear.
- Refrain from using harsh chemical drain cleaners as they can damage pipes and be harmful to the environment. Opt for natural alternatives like baking soda and vinegar for gentle cleaning.
- Mix baking soda and vinegar and pour it down the drain to create a foaming action that helps break down residue and odors. Follow up with hot water to flush out the mixture.
- Be mindful of what goes down your drain. To prevent blockages, avoid pouring grease, oil, coffee grounds, or large food particles down the shower drains.
By incorporating these maintenance tips into your routine, you can effectively prolong the lifespan of your shower drain, prevent clogs, and ensure optimal water flow in your shower.
To read more articles visit Whatson.plus
Conclusion
Plumbing a shower drain may seem like a daunting task, but with the right tools and knowledge, it is a manageable project that can save you time and money in the long run. I have covered all the essential steps and techniques to complete this task, from preparing the area to connecting the final pieces. Remember always to take safety precautions and double-check your work before running water through your newly installed shower drain. By following these steps, not only will you be able to fix any clogs or leaks in your shower drain, but you will also gain valuable plumbing skills that can be useful for future projects. With practice and determination, you can become a master plumber in no time.